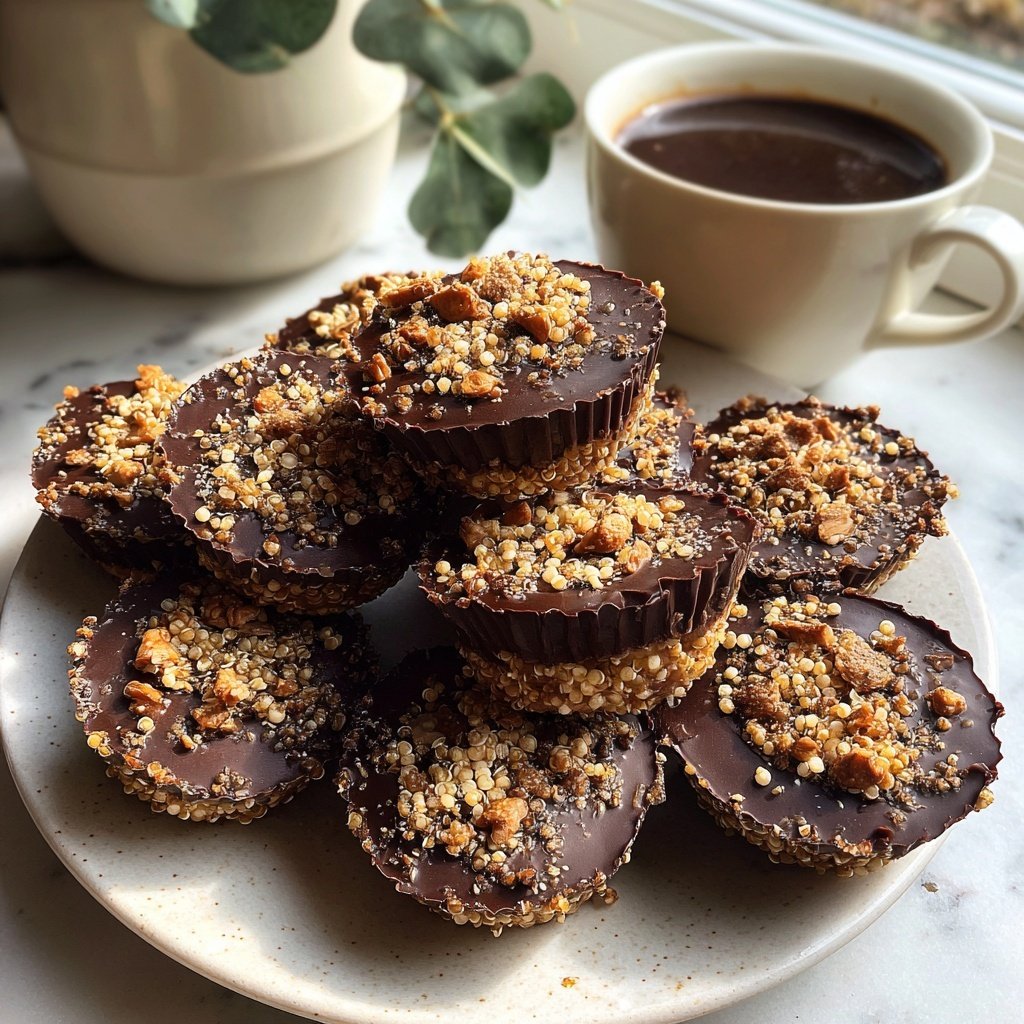
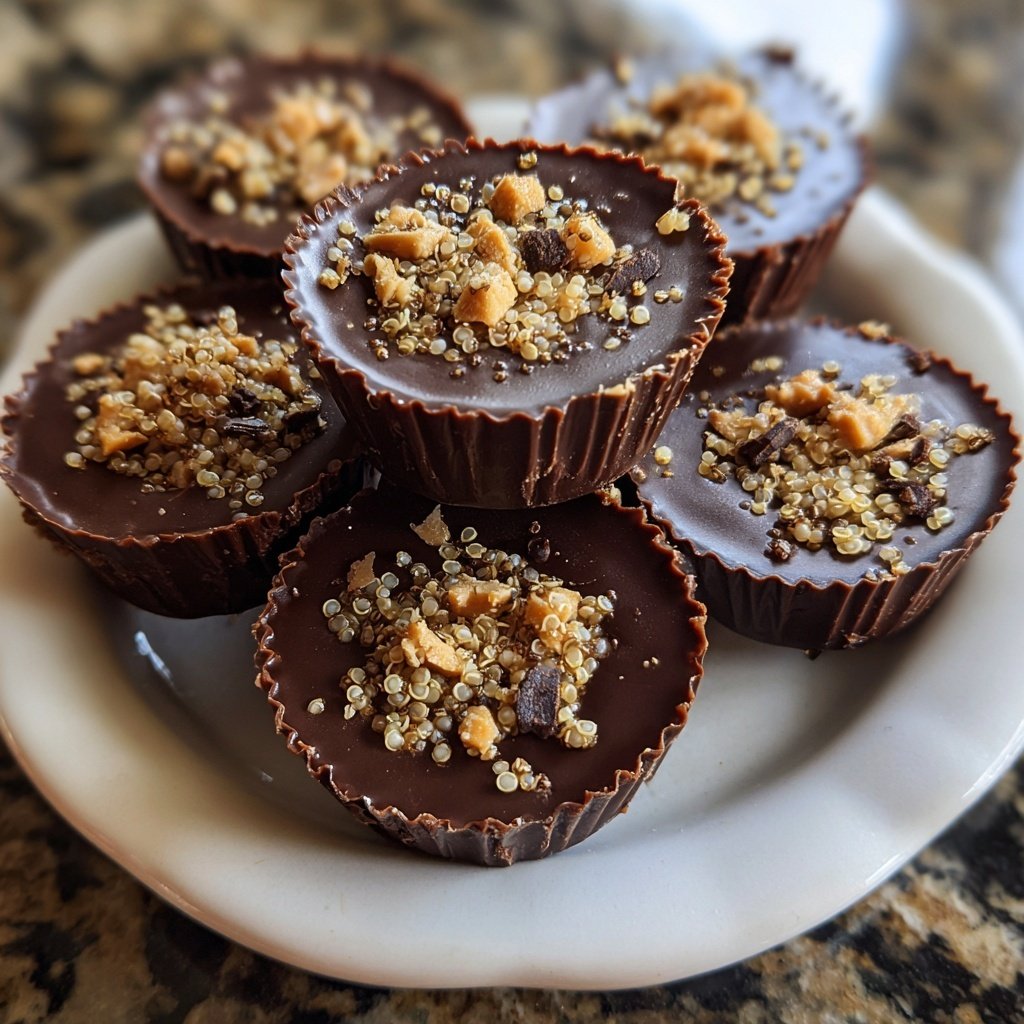
Homemade Peanut Butter Cups with Crunchy Quinoa
Highlighted under: Daily Cooking
I’m excited to share my delightfully crunchy twist on a classic treat: homemade peanut butter cups with crunchy quinoa! Combining creamy peanut butter and rich chocolate with the unexpected texture of quinoa creates a delicious dessert that’s both satisfying and a bit healthier. Not only are they easy to make, but they also offer a fun way to use leftover quinoa. Trust me, you’ll want to whip these up for your next snack or dessert craving!
When I first experimented with incorporating quinoa into my homemade peanut butter cups, I was pleasantly surprised by the delightful crunch it added. The combination of textures from the smooth chocolate, creamy peanut butter, and crisp quinoa made the treats irresistible. I found that toasting the quinoa lightly before mixing it in really enhanced its nutty flavor, giving each bite a unique twist!
This recipe is not just a dessert; it’s a creative way to sneak in some extra nutrients. With just a handful of ingredients, I could customize the sweetness and even the type of chocolate based on my preference. It's amazing how much joy can come from making something so simple yet so delicious!
Why You Will Love This Recipe
- Creamy peanut butter with a crunchy quinoa surprise
- Decadent chocolate shell that melts in your mouth
- A healthier homemade treat that satisfies your sweet tooth
Perfecting the Texture
The addition of toasted quinoa not only enhances the nutritional profile of these peanut butter cups but also provides a delightful crunch that contrasts beautifully with the creamy filling. Toasting the quinoa beforehand is key; it should be light golden brown and fragrant. This process intensifies the flavor and adds a satisfying crunch that elevates the texture. If you're pressed for time, you can purchase pre-toasted quinoa from specialty stores, but toasting your own allows for more control over flavor.
When you mix the quinoa into the peanut butter, aim for an even distribution. Too much quinoa can overwhelm the peanut butter flavor, while too little may lead to a filling that feels too soft. I recommend gently folding the quinoa into the peanut butter mixture to maintain its crunchiness. The right ratio will ensure each bite delivers a perfect blend of creaminess and crunch.
Chocolate Coating Tips
For the chocolate coating, using dark chocolate chips is essential as they offer a rich flavor that balances the sweetness of the filling. When melting the chocolate, ensure you stir frequently to prevent burning. If you notice the chocolate seizing or becoming thick, adding an extra splash of coconut oil can help smooth it out, bringing back that glossy finish. Remember, chocolate can burn easily, so start with lower power on the microwave and increase if needed.
To achieve a professional-looking finish, let the first layer of chocolate cool slightly before adding the peanut butter filling. This prevents the filling from sinking into the chocolate and ensures a clean separation. Adding a second layer of chocolate after stuffing the cups helps create a barrier that keeps the filling perfectly intact and maintains the chocolate’s appearance.
Storing and Serving Suggestions
These homemade peanut butter cups can be stored in an airtight container in the refrigerator for up to two weeks, making them an excellent make-ahead snack. They can also be frozen; just layer them between parchment paper in a freezer-safe container to prevent sticking. When ready to enjoy, thaw them in the fridge for a few hours or at room temperature for about 30 minutes for the best flavor and texture.
For a fun twist, consider adding toppings such as crushed nuts, flaky sea salt, or even a drizzle of white chocolate. These additions can provide flavor contrasts and make each cup even more appealing when served as a dessert. Another fun idea is to create variations using different nut butters—almond or cashew butter work well and offer unique twists to the classic flavor profile.
Ingredients
Gather these ingredients before you start:
For the Peanut Butter Filling
- 1 cup creamy peanut butter
- 1/4 cup honey or maple syrup
- 1/2 cup toasted quinoa
- 1/2 teaspoon vanilla extract
- 1/4 teaspoon salt
For the Chocolate Coating
- 1 cup dark chocolate chips
- 1 tablespoon coconut oil
Make sure to measure accurately for the best results!
Instructions
Follow these simple steps to make your peanut butter cups:
Prepare the Chocolate Coating
In a microwave-safe bowl, combine the dark chocolate chips and coconut oil. Heat in 20-second increments, stirring in between, until the mixture is completely melted and smooth.
Mold the Chocolate Cups
Line a muffin tin with paper liners. Pour a small amount of melted chocolate into the bottom of each liner, just enough to cover the base. Place the tin in the refrigerator for 10 minutes to set.
Mix the Peanut Butter Filling
Meanwhile, in another bowl, mix together the peanut butter, honey (or maple syrup), toasted quinoa, vanilla extract, and salt until well combined.
Assemble the Cups
Remove the chocolate-covered liners from the refrigerator and add a spoonful of the peanut butter mixture to each cup. Top with more melted chocolate to fully cover the filling.
Chill and Serve
Return the muffin tin to the refrigerator for another 15 minutes to set completely. Once set, peel the cups from the liners and enjoy!
Store any leftovers in an airtight container in the refrigerator.
Pro Tips
- For an extra twist, try adding a sprinkle of sea salt on top of the chocolate before it sets for a delicious salty-sweet contrast.
Common Troubleshooting
If your chocolate coating is not setting properly, it may be due to excess moisture; ensure the muffin liners are completely dry before adding chocolate. Additionally, if your layers are too thin, consider allowing the chocolate to cool slightly before pouring the next layer to prevent it from mixing with the filling. Too runny of a peanut butter filling can be remedied by chilling it briefly to help it firm up before assembly.
Sometimes, the cups may stick to the liners. Using high-quality paper liners or lightly greasing the inside of the liners with coconut oil can help release them easily. If you find your peanut butter filling too runny, try adding more quinoa or a small amount of powdered sugar which will thicken the mixture without altering the flavor much.
Ingredient Substitutions
For those seeking a vegan option, replace honey with maple syrup or agave nectar, maintaining the sweet balance without the use of animal products. Similarly, if nut allergies are a concern, try using sunflower seed butter or soy nut butter, which offers a similar texture and taste, ensuring that everyone can enjoy this treat without health concerns.
If dark chocolate isn't your preference, you can opt for semi-sweet or milk chocolate, but be mindful that these options will increase the overall sweetness of the cups. Altering the chocolate type may also change the melting point slightly, so monitor closely while melting to avoid burning and adjust the coconut oil for a smoother consistency.
Serving Variations
One delightful way to serve these peanut butter cups is by pairing them with fresh fruit, such as sliced bananas or strawberries, which add a refreshing contrast to the richness of the cups. Plating them alongside a dollop of whipped cream can elevate the presentation for a special occasion or gathering.
For a more indulgent experience, consider incorporating a hint of spice, such as a sprinkle of cinnamon or a dash of chili powder mixed into the peanut butter filling. This will bring warmth and complexity to the flavor profile, enticing adventurous eaters and providing a unique twist on the classic treat that will have everyone asking for more.
Questions About Recipes
→ Can I use crunchy peanut butter instead?
Absolutely! Crunchy peanut butter will add even more texture to the filling.
→ How long will these peanut butter cups stay fresh?
They can be stored in an airtight container in the refrigerator for up to 2 weeks.
→ Can I substitute the chocolate chips?
Yes! Feel free to use milk chocolate or even white chocolate if you prefer.
→ Is this recipe gluten-free?
Yes, as long as you ensure your chocolate and other ingredients are gluten-free, this recipe is completely safe for a gluten-free diet.
Homemade Peanut Butter Cups with Crunchy Quinoa
What You'll Need
For the Peanut Butter Filling
- 1 cup creamy peanut butter
- 1/4 cup honey or maple syrup
- 1/2 cup toasted quinoa
- 1/2 teaspoon vanilla extract
- 1/4 teaspoon salt
For the Chocolate Coating
- 1 cup dark chocolate chips
- 1 tablespoon coconut oil
How-To Steps
In a microwave-safe bowl, combine the dark chocolate chips and coconut oil. Heat in 20-second increments, stirring in between, until the mixture is completely melted and smooth.
Line a muffin tin with paper liners. Pour a small amount of melted chocolate into the bottom of each liner, just enough to cover the base. Place the tin in the refrigerator for 10 minutes to set.
Meanwhile, in another bowl, mix together the peanut butter, honey (or maple syrup), toasted quinoa, vanilla extract, and salt until well combined.
Remove the chocolate-covered liners from the refrigerator and add a spoonful of the peanut butter mixture to each cup. Top with more melted chocolate to fully cover the filling.
Return the muffin tin to the refrigerator for another 15 minutes to set completely. Once set, peel the cups from the liners and enjoy!
Extra Tips
- For an extra twist, try adding a sprinkle of sea salt on top of the chocolate before it sets for a delicious salty-sweet contrast.
Nutritional Breakdown (Per Serving)
- Calories: 160 kcal
- Total Fat: 10g
- Saturated Fat: 4g
- Cholesterol: 0mg
- Sodium: 80mg
- Total Carbohydrates: 15g
- Dietary Fiber: 1g
- Sugars: 8g
- Protein: 4g