Valentines Snacks Mini Puff Pastries
Highlighted under: Celebration Cooking
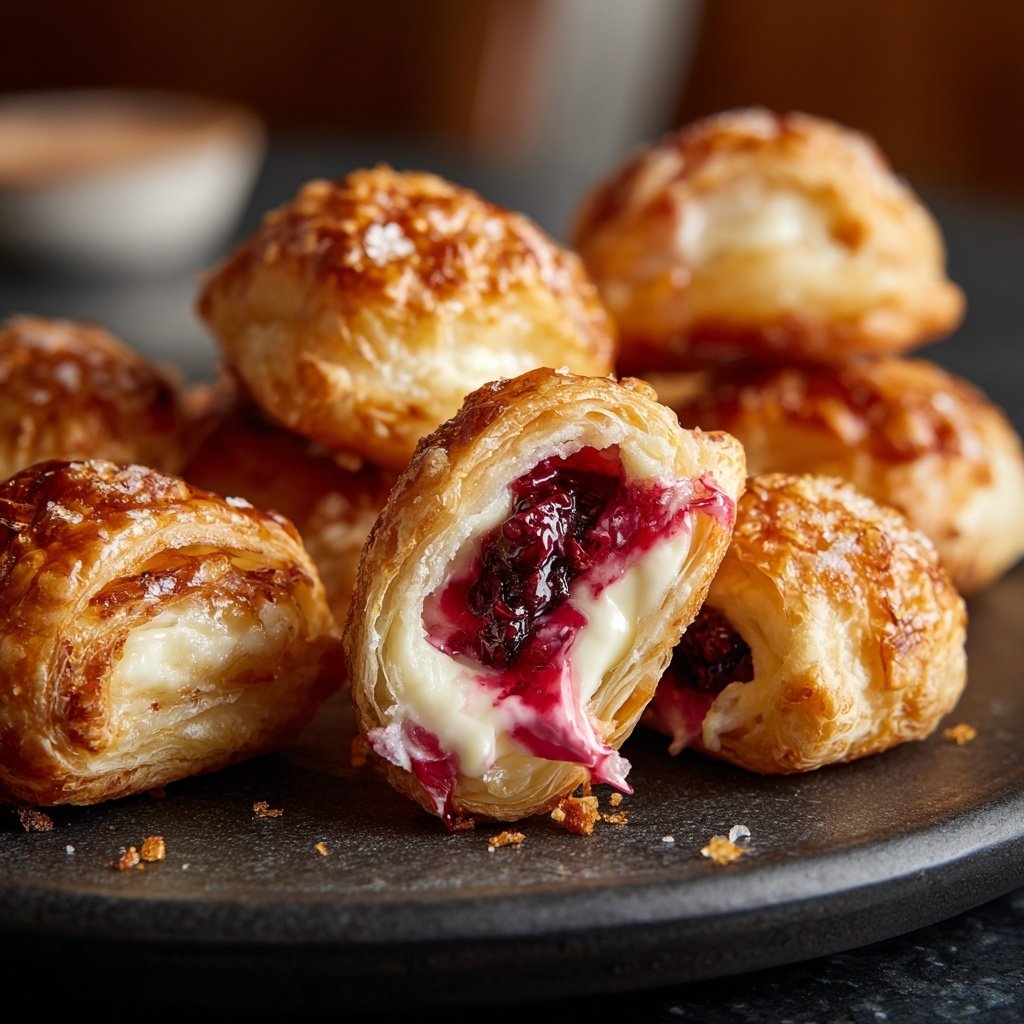
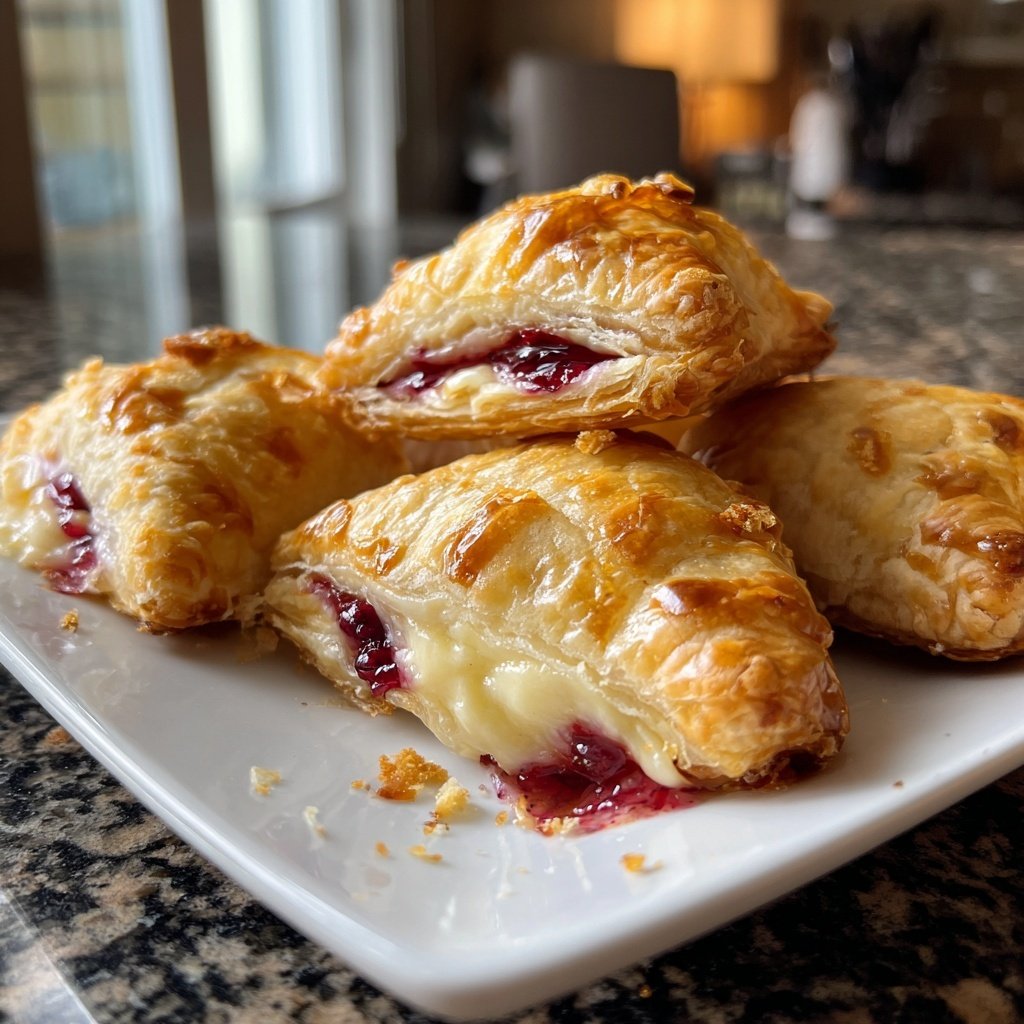
I love whipping up a batch of these Valentine's Snacks Mini Puff Pastries whenever I'm in the mood for something sweet and delightful. The flaky, buttery pastry comes together effortlessly, making it the perfect treat to share with loved ones. I enjoy filling them with rich chocolate or fruity fillings, and they never fail to impress! Whether it's for a romantic evening or a friendly gathering, these pastries are sure to bring smiles and joy to the table. Plus, they’re easy to customize, allowing everyone to enjoy their favorite flavors.
My experience making these mini puff pastries has been nothing short of delightful. The process allows me to experiment with different fillings, from homemade jams to decadent chocolate ganache. I've learned that using cold butter and not overworking the dough is crucial for achieving that perfect flaky texture.
Each time I serve these, I’m reminded of the joy they bring to those around me. They’re incredibly versatile and can be dressed up or down, making them suitable for any occasion. Don’t forget to brush the pastries with an egg wash for that beautiful golden finish!
Why You'll Love These Mini Puff Pastries
- Flaky and buttery texture that melts in your mouth
- Versatile fillings that cater to every taste
- Perfect for sharing with friends or loved ones
Getting the Pastry Just Right
When working with puff pastry, it’s essential to keep the dough cold for that perfect flaky texture. If your kitchen is warm, consider chilling the pastry sheets in the refrigerator for about 15 minutes after rolling them out. This prevents the butter layers from melting too quickly, ensuring your pastries rise beautifully in the oven.
For an added touch, you can sprinkle some sugar on top before baking for a subtly sweet crunch that pairs well with fruit fillings. Just remember to modify the egg wash slightly by mixing in a pinch of sugar for an enriched glaze that not only helps the sugar adhere but also gives your pastries a shinier finish!
Customizing Your Fillings
The beauty of these mini pastries lies in their versatility. You can switch up the fillings based on your preference or what's available in your pantry. If you don't have chocolate chips, consider substitute options like Nutella or even peanut butter for a unique twist. Similarly, experiment with different jams like apricot or orange marmalade for a delightful citrusy flavor.
Don't hesitate to mix fillings for added complexity! A chocolate and raspberry combination, for instance, elevates the flavor profile and presents a stunning contrast. Aim for a balanced ratio: the sweetness of the chocolate complements the tartness of the fruit, creating a richer and more indulgent treat.
Ingredients
For the Puff Pastry
- 1 package of frozen puff pastry (2 sheets), thawed
- 1 egg, beaten (for egg wash)
- Flour, for dusting
For the Filling
- 1 cup chocolate chips or chocolate ganache
- 1/2 cup fruit jam or preserves (like raspberry or strawberry)
- 1/2 cup pastry cream or whipped cream (optional)
Instructions
Prepare the Pastry
Preheat your oven to 400°F (200°C). On a floured surface, unfold the thawed puff pastry sheets and roll them out gently. Cut them into squares (about 3x3 inches) using a sharp knife or pizza cutter.
Fill the Pastry
Place about a tablespoon of your chosen filling in the center of each square. Be careful not to overfill! Fold the corners of the pastry over the filling, pinching to seal, and place them seam-side down on a baking sheet lined with parchment paper.
Bake the Pastries
Brush the tops of the pastries with the beaten egg to achieve a golden color during baking. Bake in the preheated oven for 15-20 minutes or until puffed and golden brown. Keep an eye on them to avoid burning!
Cool and Serve
Once baked, let the pastries cool for a few minutes before serving. They can be enjoyed warm or at room temperature.
Pro Tips
- Experiment with various fillings like Nutella, lemon curd, or savory cheeses to vary the flavor profile. Use powdered sugar to dust the finished pastries for an extra touch of sweetness and visual appeal.
Storing and Reheating Tips
These mini puff pastries are best enjoyed fresh, but if you have leftovers, store them in an airtight container at room temperature for up to two days. For longer storage, consider refrigerating them, which can keep them fresh for up to a week. When you’re ready to enjoy them again, reheat in the oven at 350°F (175°C) for about 10-15 minutes or until warmed through and crispy on the outside.
If you prefer freezing your pastries, you can do so before baking. Just arrange them on a baking sheet to flash freeze them for about 30 minutes, then transfer to a freezer-safe bag. When you’re ready to bake, there's no need to thaw; simply add a couple of extra minutes to the baking time.
Serving Suggestions
To enhance your mini puff pastries, consider serving them alongside a fruit compote or a scoop of vanilla ice cream. These additions provide a refreshing contrast and elevate the presentation, making them a hit at any gathering. For an added touch of elegance, dust them with powdered sugar just before serving.
Another delightful option is to pair your pastries with a rich chocolate sauce for dipping. This fun interactive element can turn dessert into an experience, especially for gatherings or parties. Just melt some chocolate with a bit of cream until smooth, and serve it warm for a delicious dunking option.
Questions About Recipes
→ Can I make the puff pastry from scratch?
Yes, homemade puff pastry can be used, but it requires more time and skill. Store-bought is a great shortcut for quick prep!
→ How long can I store leftover pastries?
You can store them in an airtight container for up to 2 days. To keep them crisp, reheating in the oven for a few minutes works best.
→ Can I freeze the unbaked pastries?
Absolutely! Assemble them, place them on a baking sheet to freeze, then transfer to a freezer-safe bag. Bake from frozen for about 5 extra minutes.
→ What other fillings can I try?
Feel free to get creative! Try cream cheese with herbs, apple pie filling, or even savory options like spinach and feta.
Valentines Snacks Mini Puff Pastries
Created by: Arden Whitlock
Recipe Type: Celebration Cooking
Skill Level: Intermediate
Final Quantity: 24 pastries
What You'll Need
For the Puff Pastry
- 1 package of frozen puff pastry (2 sheets), thawed
- 1 egg, beaten (for egg wash)
- Flour, for dusting
For the Filling
- 1 cup chocolate chips or chocolate ganache
- 1/2 cup fruit jam or preserves (like raspberry or strawberry)
- 1/2 cup pastry cream or whipped cream (optional)
How-To Steps
Preheat your oven to 400°F (200°C). On a floured surface, unfold the thawed puff pastry sheets and roll them out gently. Cut them into squares (about 3x3 inches) using a sharp knife or pizza cutter.
Place about a tablespoon of your chosen filling in the center of each square. Be careful not to overfill! Fold the corners of the pastry over the filling, pinching to seal, and place them seam-side down on a baking sheet lined with parchment paper.
Brush the tops of the pastries with the beaten egg to achieve a golden color during baking. Bake in the preheated oven for 15-20 minutes or until puffed and golden brown. Keep an eye on them to avoid burning!
Once baked, let the pastries cool for a few minutes before serving. They can be enjoyed warm or at room temperature.
Extra Tips
- Experiment with various fillings like Nutella, lemon curd, or savory cheeses to vary the flavor profile. Use powdered sugar to dust the finished pastries for an extra touch of sweetness and visual appeal.
Nutritional Breakdown (Per Serving)
- Calories: 250 kcal
- Total Fat: 18g
- Saturated Fat: 10g
- Cholesterol: 60mg
- Sodium: 100mg
- Total Carbohydrates: 20g
- Dietary Fiber: 1g
- Sugars: 8g
- Protein: 3g